I just felt like writing something in English.
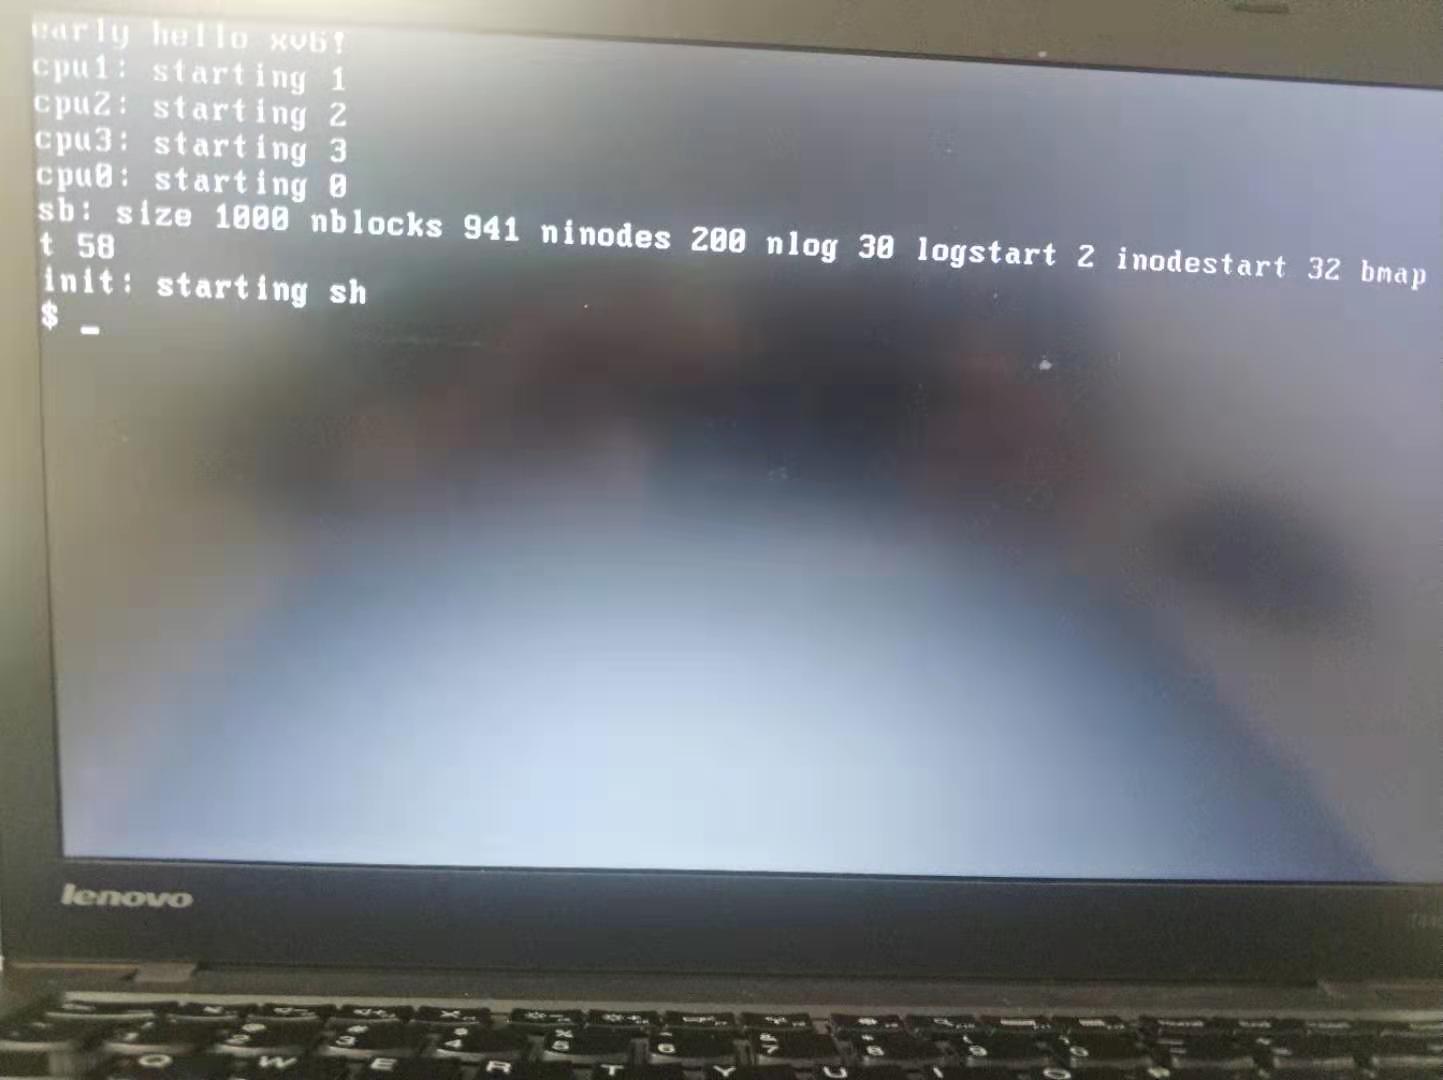
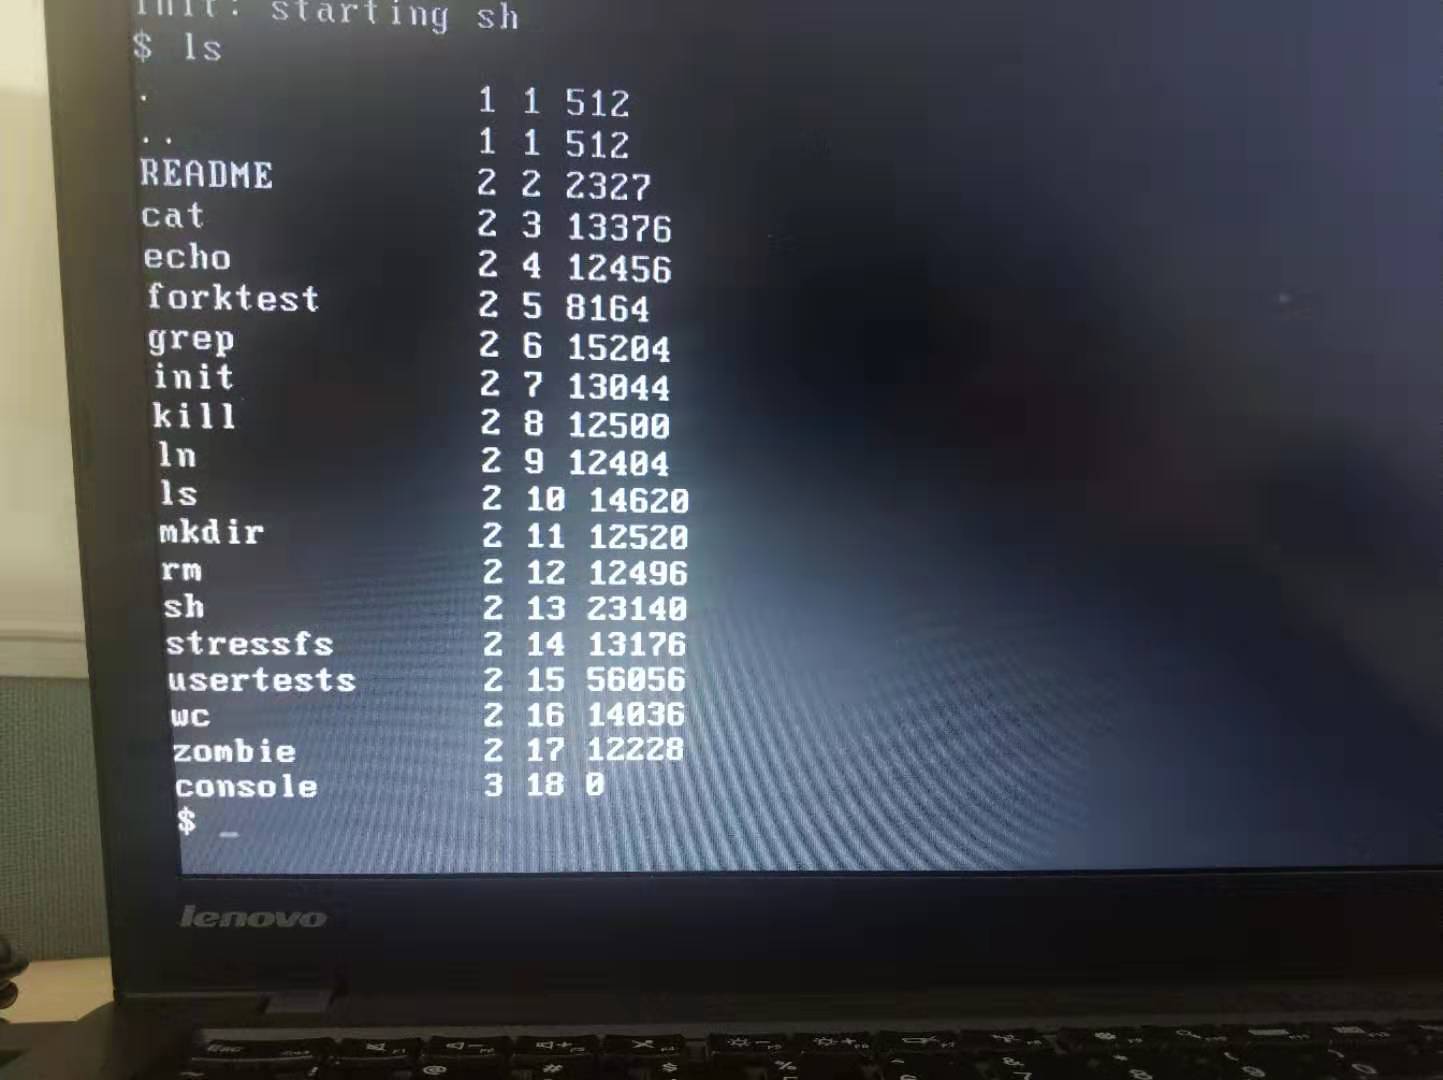
Final effect
This is what it’s like when xv6 runs on my ancient T440.
The modified code is here. Below are explanations for the code. If you want concrete instructions however, look at the code.
Changes to xv6
Thanks to those MIT people there isn’t much change to make for xv6 to run on real hardware.
Russ Cox gave some basic instructions in entry.S, like
# Multiboot header, for multiboot boot loaders like GNU Grub.
# http://www.gnu.org/software/grub/manual/multiboot/multiboot.html
#
# Using GRUB 2, you can boot xv6 from a file stored in a
# Linux file system by copying kernel or kernelmemfs to /boot
# and then adding this menu entry:
#
# menuentry "xv6" {
#   insmod ext2
#   set root='(hd0,msdos1)'
#   set kernel='/boot/kernel'
#   echo "Loading ${kernel}..."
#   multiboot ${kernel} ${kernel}
#   boot
# }
That means you basically edit the grub table and then update grub and reboot and, wow, an xv6 entry appears on the grub menu. But there are some subtleties to note however
- For grub newbies, which files should I edit?
- Is your disk partition table of the MBR format? (the
msdos1above) - xv6 uses the ancient IDE disks, which 99.9% of modern machines have no support for.
- grub and xv6’s little bootloader differ in some ways…
Let’s address them one by one. I assume you are using Ubuntu 16.04. For different platforms my techniques may not work, sorry for that ;P.
Files to edit
/boot/grub/grub.cfg contains a generated grub configuration file that grub directly uses.
You may examine this file, but you are strongly advised against editing it.
Search for set root=, and you should see something like set root='hd0,msdos1'.
If not, check the partition subsection below.
/etc/default/grub is another file you may touch.
If you never see the grub menu during booting, that means the menu is hidden.
Enable showing the menu by commenting out the line GRUB_HIDDEN_TIMEOUT=0 here.
Alternatively you may press Shift key during booting to bring up the menu.
/etc/grub.d/* are the files we need to edit to get xv6 appear on the grub menu.
Specifically we should edit the file /etc/grub.d/40_custom. Simple paste the code into it like
#!/bin/sh
exec tail -n +3 $0
# This file provides an easy way to add custom menu entries.  Simply type the
# menu entries you want to add after this comment.  Be careful not to change
# the 'exec tail' line above.

### xv6
menuentry "xv6" {
	insmod ext2
	set root='hd0,msdos1'
	set kernel='/boot/kernel'
	echo "Loading ${kernel}..."
	multiboot ${kernel} ${kernel}
	boot
}
After you edit the grub files, run sudo update-grub to put them into effect.
Partition table format
The xv6 menuentry assumes MBR format of the partition table. In recently years the more advanced GPT format is gradually replacing MBR. I tried to get xv6 working with GPT but didn’t have enough grub expertise to get it working, so here we focus on MBR.
To check whether your partition table is GPT or MBR, the most convenient way is to use ubuntu’s builtin utility.
Bring up the dash starter, type into disks, and start the disks utility.
Select your main disk, and its partitioning format is shown in the partitioning row.
If you happened to use the GPT format, my solution is to repartition and reinstall ubuntu :(
- Create an ubuntu startup usb stick
- Run ubuntu from usb, and use the disks utility to repartition the main disk
- Reinstall ubuntu on the main disk
Backup your data before doing these.
Disks
xv6 uses disks. But it support only IDE interface, while modern machines only support SATA.
Our approach is to use a memory simulated IDE. That’s simple, switch to kernelmemfs instead of kernel. Just a few lines in the Makefile.
GRUB subtleties
Switching from xv6’s little bootloader to grub, I met the below errors:
- grub complaining about “entry point isn’t in a segment”
- The reason is that, grub requires the entry point of the kernel ELF to lie in the virtual address range in some program header, but for xv6 bootloader the entry point lies in the physical address range to suit its little bootloader.
- Just edit
entry.S: set_start = entry.
- Some random stupid faults, perhaps like “it works with 2 processors but not with 4 processors!”
- xv6 assumes the segment selectors start from 1. Segment selector 1 is for KCODE, 2 is for KDATA etc etc.
- But for grub, segment selector 1 is reserved, see its gdt definition in the file
grub-core/lib/i386/relocator32.Sin grub source. - Let’s make grub happy. We set KCODE to 2, KDATA to 3 etc etc. And edit our gdt definitions in entry files.
Final steps
Now all we have to do is to copy the kernel image and reboot.
First create the kernel image and copy it
$ make kernelmemfs
$ sudo cp kernelmemfs /boot/kernel
Then reboot, and select xv6 in the grub menu
Conclusion
With the above modification, xv6 should successfully boot on your laptop. Can’t thank the MIT people too much for their work in the little and beautiful xv6 ;)
I admit that some techniques are stupid, and hope to improve them if I had better grub expertise. If the reader have any opinion, I’ll be happy to hear from you!